Installation
There are 3 ways how you can find, download and install Exr-IO on your computer.
A. Official Installer download
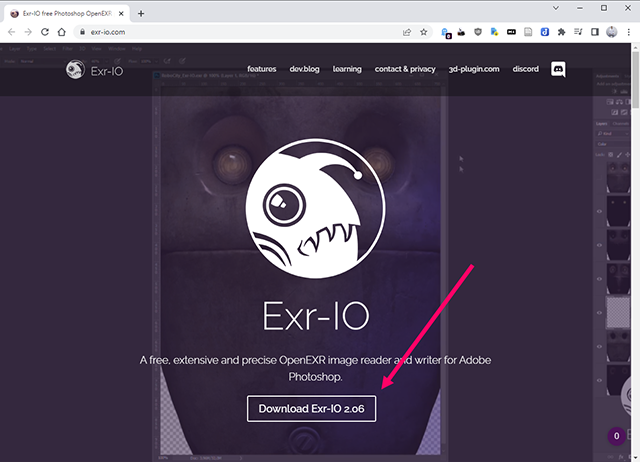
The most usual way is to go to the official Exr-IO Homepage, download the installer and run it (Windows only currently)
B. Adobe Exchange
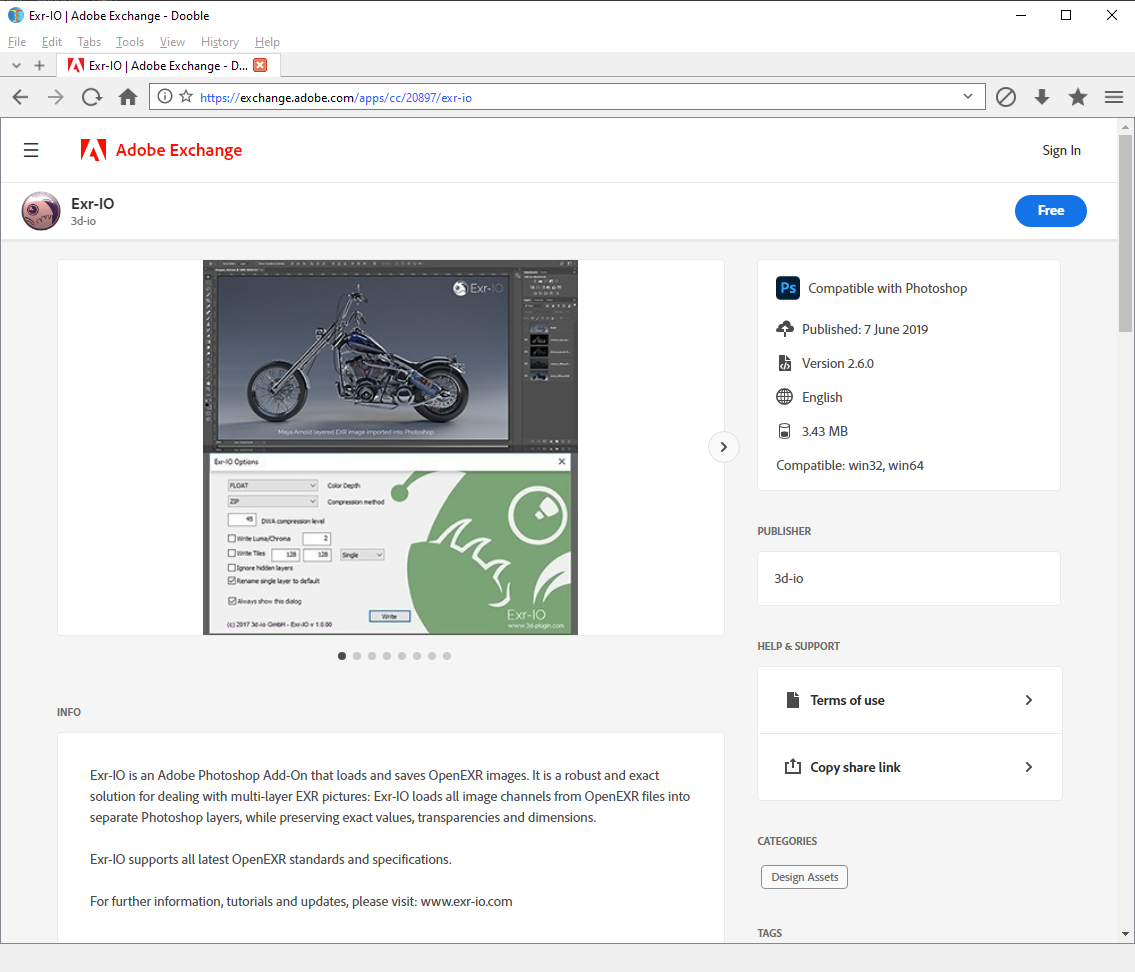
You can also utlize Adobe Exchange in order to install Exr-IO directly from the Creative Cloud. To install it via Adobe Exchange please visit Adobe Exchange Exr-IO Addon and install it from there.
C. Manual installation
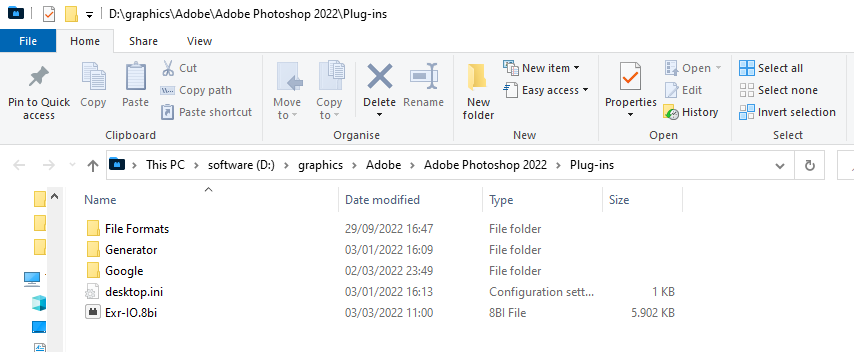
Alternatively there may be cases you want to manually copy the existing Exr-IO plugin from another, existing Photoshop installation or from another computer to your current working version. In this case, you can manually copy the installed Exr-IO.8bi plugin to your Photoshop plugins. In order to do it, please locate the installed plugin in some other existing Photoshop installation (path: \Adobe\Adobe Photoshop\Plug-ins) to your Photoshop plugin folder. The folder you have to manually add Exr-IO.8bi is located in your: \Adobe\Adobe Photoshop Version\Plug-ins. Since the plugin is not installed using the installer, if you want to remove it, you need to delete it manually from this location.
Using official Exr-IO Installer
The Exr-IO installer provides 2 different ways to install the plug-in.
Exr-IO Installer
The default option will automatically search for the Photoshop plug-in directories and install the corresponding version of Exr-IO to them.
Alternatively an explicit install path can be provided for the 64 bit or 32 bit versions of the plug-in. These options can be used for custom plug-in locations that can’t be automatically detected.
Silent Installation
The Exr-IO installer supports the following command line switches for silent installation:
/SInitiates silent installation mode. If this flag is omitted the installer will run with a window.
/DONTAUTOINSTALLDisables the default option to automatically detect Photoshop installations and their plug-in directories.
/INSTALLPATH64This option can be used to provide a custom path into which the 64 bit version of the plug-in should be installed.
/INSTALLPATH32This option can be used to provide a custom path into which the 32 bit version of the plug-in should be installed.
Uninstalling Exr-IO
To uninstall Exr-IO start in your Windows “Apps & Features”, locate “Exr-IO” in the list of installed applications and click on “Uninstall” button. If you can not find the “Apps & Features” in Windows, please consult Microsoft Help or any generic YouTube tutorial explaining how to uninstall applications from your OS.
